
Simple dishes and tips for food photography
Food photography isn’t just an enjoyable pastime that produces amazing Instagram images. Still, it also can open the doors to opportunities like food blogging, ebook production, and even earning money from photographs of products.
The beauty of photography is that everyone can master it. You don’t require a fancy DSLR to get great photos. All you need to start is an iPhone.
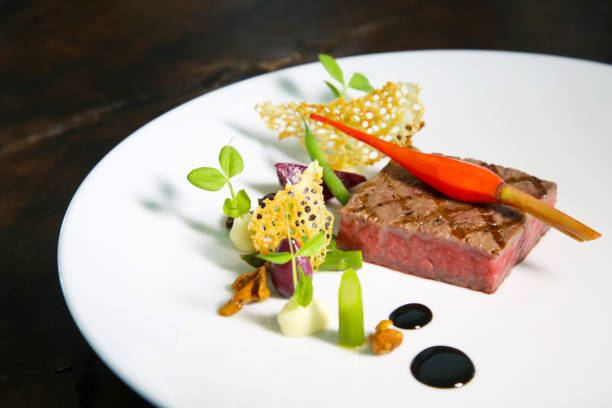
Choose a photogenic dish.
The most crucial step when it comes to food photography is selecting the food item you wish to capture.
Make sure you know your camera.
No matter if you’re using an iPhone or a Nikon DSLR, it is crucial to know the camera’s workings. The basic point-and-shoot camera and smartphones are fairly simple to master and are an excellent choice for amateur hobbyists or casual bloggers.
DSLR (digital single-lens reflex) cameras come with a steeper learning curve, as well as a steeper price, but they are worth the effort and time when you’re determined to make money as a photographer. They provide more control over your photos across a variety of lighting conditions; they generally perform better in low-light conditions than a point-and-shoot. If you’re a novice to DSLRs, then we would suggest studying a little on the internet to understand the fundamentals of how they work – including understanding the relationship between shutter speed and ISO as well as aperture.
Composition
No matter what type of camera you’re using, the fundamentals of composition stay the same. Select your focus point. The more precise you are, the more accurate (generally). Concentrate on the garnishes of your dish rather than the food as a whole.
Three-thirds rule
Imagine your image being broken down into equal nine squares comprising two lines that run vertically and two lines running horizontally (you could actually use your smartphone camera to DLSR display this grid by altering the camera’s settings). Your focal point is to be situated in either of these vertical or horizontal intersections. This creates an interest in your photo and makes it more attractive.
Negative space
Negative space is the space around the object of a photograph. It’s great for food photography since it provides contrast between the backgrounds and food, thereby making it stand out.
Angles
The right angle to use to photograph every dish is crucial and requires some practice. Cakes and pizzas generally look better when taken from above, while sandwiches and burgers with lots of toppings are best shot from a vantage point that is eye-level (just make sure you have an appealing background! ).
Lighting
Lighting can transform the dull, ‘blah’ image into one that is delicious. Natural lighting is typically preferred over artificial lighting. Still, if you’re forced to work in a dark room at night, you can switch your white balance setting to tungsten in order to neutralize the yellow glowing.
Be sure to think about the direction that illumination is from. Backlighting can give a natural appearance that accentuates any steam coming from the food. If it’s cloudy, it might be necessary to reflect backlighting to enhance the appearance of your food. You can do this with a reflector or perhaps using a paper towel If you’re in a hurry!
Styling
Now comes the exciting part – dressing! Here are some helpful tips:
- Choose complementary colors. These are colors that stand out against one another on the color wheel. Consider blue and orange or green with pink.
- The use of clutter-free photos is great in certain scenarios, for instance, the case of the entire Christmas menu. However, the more simple, the more simple.
- Make the best use of props. Jazz up the soup bowl with some garnishes, a beautiful spoon, your tablecloth of choice, and a fresh plate of bread.
- Nicely serve your food. Full bowls are generally more appealing than half-empty ones, and smaller bowls allow you to display the food more effectively.
- Find a place that will enhance the image, like a chic dining area or a park with a picnic rug.
- Drink shots prior to and following mixing in sauces or dressings since they may cause the food to turn wilted.
And lastly,
Editing your photos with Digital editing programs is a simple way to enhance your photos and make colors stand out. If you’re interested in going professional, you should consider Corel PaintShop Pro Skylum Luminar, Adobe Photoshop, or Lightroom. If you’re using smartphones, VSCOCam or Darkroom work great – Adobe also offers Express versions for Photoshop and Lightroom as apps.
Food photography is a great way to practice and can be a great activity for the kids and help you experiment with various recipes.


Leave a Comment